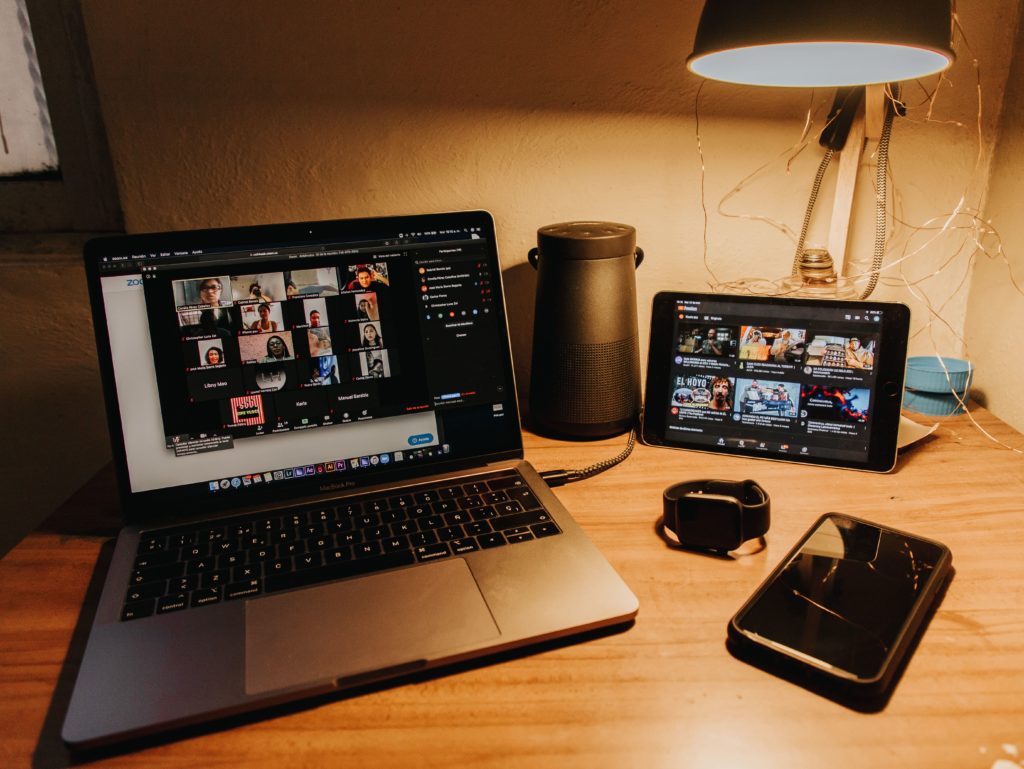
Zoom is great because it just works. The settings are easy to understand and – after the craziness of 2020 and 2021 – very few people are having trouble getting Zoom to work. But what about when you want to share a recorded Zoom meeting?
Before we answer that, we first have to answer, ‘How do you want to share it?’ Seems basic enough, but it’s important because the answer to the best way to share a recorded Zoom meeting is different if you want to share it as marketing material on YouTube or a podcast versus if you want meeting attendees to have a record of the meeting.
The truth is simple: the method of recording is a big part of sharing. There are two options:
Recording a Zoom Meeting Locally
In general, doing a local recording of a Zoom meeting is going to have the highest quality audio and video – there is a catch though – the recording is done of what you see on your screen and your audio. If you get the all-too ubiquitous ‘You have an unstable internet connection’ warning from Zoom that means your recording could get muddled. And if you are toggling between to other files or checking the score of a game, that’s going to show up in the recording too.
Additionally, an hour+ long audio and video recording is going to take up a lot of memory.
But if you have the memory to spare and you can stay on topic and not toggle between multiple things plus you have a strong internet connection, a local recording is going to have the highest quality recording and is the go-to option if the video is going to go onto YouTube or into a podcast.
Recording a Zoom Meeting via the Cloud
Zoom’s Cloud Recording option is quite good (compared to its competitors) and also gives you high-quality MP4 (video and audio) as well as M4A (audio only) files.
Their recording process is different than local though – as the information passes through Zoom’s servers, it records. This means there is far less drain on your local system and you don’t have to worry about accidently opening the wrong file while recording nor what could happen if your connection becomes unstable.
The cloud recording option also has the bonus of being able to share a link with everyone and leaving it at that – a local recording will require you to upload it to Dropbox and share it from there
Share Your Recording
Now, it’s time for the meat of the discussion- sharing these recordings. If the meeting is ok to be shared with the public and you want to reach a wider audience with your video you can upload your MP4 recording to a video hosting site like YouTube, Vimeo, or your own website.
If you only want to share your video with a select group of people that you designate, you can send the link to the cloud recording. For this, you would need to copy and paste the link from the original email you received upon it being uploaded to the cloud and click the Share button on the recording management page. This will generate a sharable link that you can use.
You will be presented with several options to secure your file. Options such as: only allowing authenticated users to view it, requiring a passcode, or adding an expiration date.
If you are dealing with a local recording, upload your video file to a cloud file sharing service, like Dropbox or Google Drive, so you can easily share it.
If you have any problems or need a little extra help, as always, we’re here for any snag along the way!


