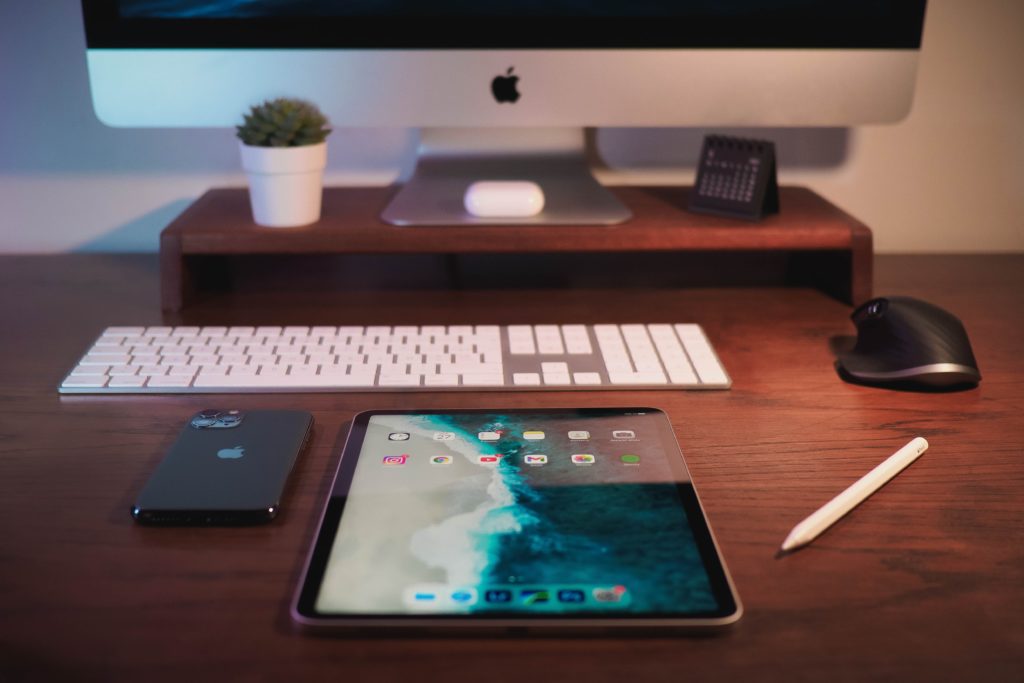
Syncing your devices is important so you don’t miss a meeting or experience that dreaded feeling when you open a file only to discover it’s two versions old. No one has time for that – especially you.
And while it’s important to know how to sync your devices with iCloud (which we’ll explain below), it’s also worth remembering that apps and services like Gmail and Outlook also have great integration with the iPad.
As a bonus, they keep your business and personal life separate, making it easier to flip in-and-out of work mode. Sticking solely with iCloud as your bridge to work could limit your ability to automate in the future.
What to Know to Stay Synced
To stay sharp and stay synced with your Apple devices, follow these easy steps for both automatic and manual syncing between your iPad and Mac Computer:
- Leverage iCloud – If you’re syncing with iCloud, updates and changes will happen automatically and across all your Apple accounts.
First, make sure you are using the latest version of iOS or macOS and that you are signed into iCloud with the same Apple ID on all the devices you want to sync.
Then, set your work calendar as your Default Calendar by going into Settings on your iPad and tapping Default Calendar. On your Mac, open your calendar and choose Preferences from the Calendar menu bar. In the General tab, you can select your Default Calendar.
As you make changes or manage events, any updates will automatically (and immediately) appear on each of your Apple devices. The same will be true when using any Cloud-based app, like DropBox for storing meeting notes or files.
- Manual Syncing – If you prefer not to use iCloud for automatic syncing, you can still keep your files, calendar and other documents updated across devices by connecting your iPad and Mac computer with a cable.
Once connected, go to the Finder sidebar on your Mac and select your iPad (older versions of macOS will need to use iTunes to sync with your Mac).
Then, click the type of content you want to sync and select “Sync [content type] onto [device name].” If you want to sync just an individual item, you can do so by selecting just that item (rather than the entire content type (i.e., Books).
You can also set up Wi-Fi syncing by navigating from the Finder sidebar. Select your iPad, click General and then select “Sync this [device] when on Wi-Fi.” Then, whenever your iPad is plugged into power and connected over Wi-Fi to your Mac, the computer will sync your content to the iPad.
Once you’ve finished syncing the files you want, click Apply. Be sure to click the Eject button in the Finder sidebar before disconnecting your iPad from your Mac.
For more ways to improve your efficiency and productivity with Apple products at your law firm, get in touch with us at Honeycrisp. We specialize in all things Mac – and do so solely for law firms. We’re here to help you with any of your tech questions today.


